Project Creation and Update
The project creation and update view allows you to create a project or category, or update existing project metadata and settings.
For creating new categories or projects, you must have the role of either owner, delegate or contributor in the parent category. For updating an existing project, the role of owner or delegate is required.
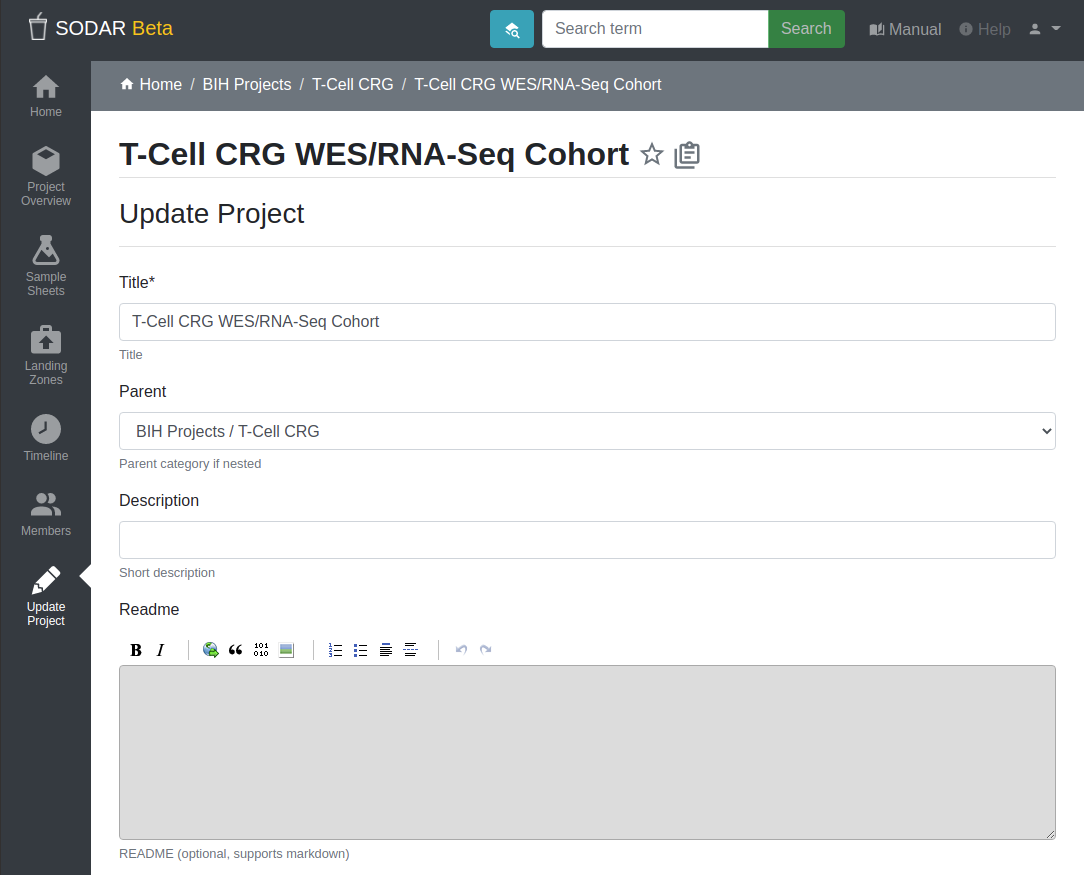
Project creation and update view
The following project metadata and settings are available for updating:
- Title
Update the project title.
- Parent
Move the project to another category. Options only contain categories for which you have sufficient access.
- Description
Set an optional longer description of the project.
- ReadMe
Set an optional ReadMe document with for the project. MarkDown notation can be used.
- Public Guest Access
Enable public guest access to the project for anyone using SODAR. This should be used with caution and is generally intended for demonstration projects. If your SODAR server allows anonymous users, this will grant guest access to anyone browsing the site.
- Notify Members of Landing Zone Uploads
Send project members email updates for file uploads using landing zones. For more information, see the Landing Zones app documentation.
- Allow Sample Sheet Editing
Enable or disable editability of sample sheets in the project.
- Enable Sheet Synchronization
Enable sample sheet synchronization. For more information, see Remote Sheet Synchronization.
- URL for Sheet Synchronization
REST API URL of remote project for sample sheet synchronization.
- Token for Sheet Synchronization
Token string for sample sheet synchronization.
- IP Restrict
Restrict project access to specific IP addresses if this is set.
- IP Allow List
List of accepted IP addresses for the IP Restrict setting.
When creating a new project, the following fields are included:
- Type
Project type. This can either be Project or Category. The type can not be altered after the project has been created.
- Owner
The user who will be set as project owner. After creation, the role can be reassigned in the Members view.
Note
After modifying any fields, make sure to click the Update button to apply the changes.